Celebrate Hanukkah, the Festival of Lights, with hanging and tabletop lanterns.
There are many different types of lanterns that are simple to construct. And although there are many beautiful lessons learned from the open flame, for safety sake, never leave an open flame unattended. You can also use a battery operated tea light.
Here are two simple lantern examples, hanging or tabletop, although the possibilities are endless.
Hanging Lanterns For An Illuminating Family Walk
Create a lantern to light your way as you soak in the beauty of the night air and reflect on the miracle of Hanukkah. Once you've made your lantern, enjoy a nature walk observing the night sky illuminated by the glow of your lantern.
Taking a lantern walk provides a wonderful opportunity to express quiet gratitude, for family, celebrations and meaningful connection. Adults will experience the value in providing time for children to be their guide and follow their light. Children will experience lessons of connection, responsibility and confidence as they lead the starry night walk.
You'll need:
- Stick (to hold your lantern suspended by a wire)
- Colored paper
- Wax paper, parchment paper, or vellum
- Glue stick
- Stapler
- Oil pastels
- Wire or ribbon
- Tea light
- Aluminum foil
Directions:
- Place a piece of 9" x 12" wax paper, parchment paper or vellum (working horizontally) on your work surface. Size of paper will determine the size of lantern; use any size you'd like.
- Cut one piece of colored paper, also 9" x 12", in half vertically (the long way). This colored paper will create a secure border along the top and bottom of the lantern.
- Fold strips of colored paper in half vertically (the long way). Using your glue stick, coat the inside of one colored strip and attach the colored paper to the top of the parchment. The fold sits on the top with the parchment nestled inside. Glue and secure on both sides. The second colored sheet is glued on only one side. When gluing half of the bottom colored sheet, use the fold as your guide. Snip slits into the unglued bottom half of the colored sheet. Later you will fold these tabs inward to create a bottom support for the candle.
- Place the paper in front of you.
- Using oil pastels, draw a scene reflective of the holiday, nature scene or event you are celebrating.
- Roll the paper into a tube, securing with glue stick. Staple at the top and bottom on the colored paper. Fold the bottom slits inward until they overlap and form a bottom. Secure these tabs with glue.
- Tuck a piece of aluminum into the bottom of the lantern.
- Place tea light on aluminum foil. If using an open flame, add a dot of glue to the bottom of the tea light securing it into the center of the aluminum foil in the base of the lantern. The battery operated tea light can freely float on the bottom. Do not secure this since the on/off switch is on the bottom.
- Punch two holes at the top of the lantern on the colored border and attach wire or ribbon handle.
- Place wire or ribbon on stick, twisting it once around to secure.
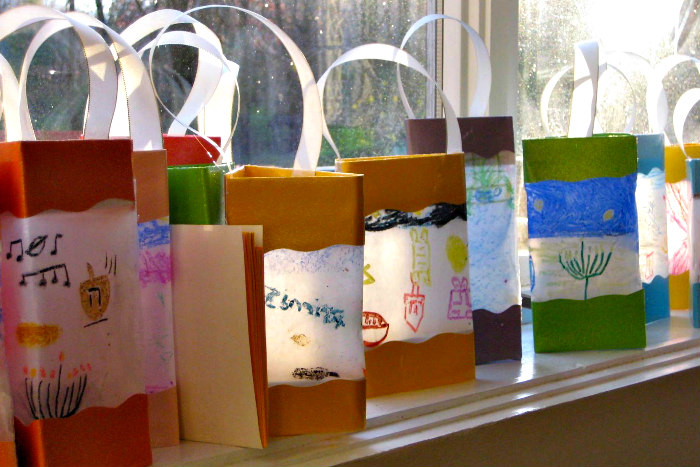
Tabletop Lanterns Create a Festive Mood
Fill your paper with beautiful colors. Observe emerging color connections through a color experience in painting. This is a wonderful time to enjoy the quiet, listen to the jingling of brushes in the water jar or play some quiet and festive music. The mood is yours to create... Once your painting is complete, set it aside to dry and later repurpose into your tabletop lantern.
You'll need:
- Painting paper (size of paper will determine size of lantern)
- Watercolor paints
- Paint brushes
- Water jar
- Dabbing cloth
- Sponges
- Stapler
- Paper punches or anything to poke holes
Directions:
- Set paper horizontally and mark/score 3" from bottom across the sheet.
- Once your painting is dry, punch, poke, hammer or cut holes into the paper. Make sure you protect your work surface if hammering!
- Fold the bottom of the paper along the scoring. The folded piece should fold away from your design. Snip four slits up to the fold.
- Trim the top corners of the paper to any desired shape. Sometimes rounding the corners is enough, but you can unleash your creativity and cut waves or zigzags.
- Fold the bottom cuts and secure with a few staples. The lantern will be open in the back.
- Place tea light on folded base.


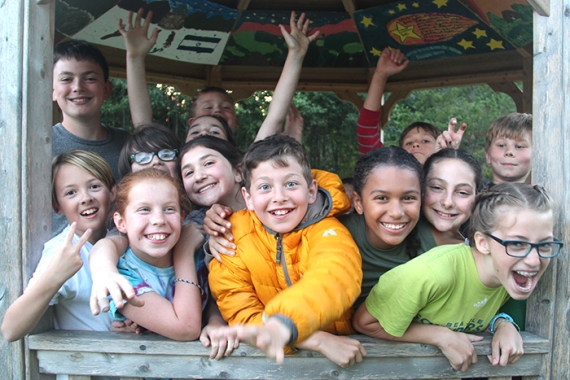
Find an Immersive Jewish Experience for Your Child
From youth groups to summer camps, teen-powered social action to travel programs in Israel and around the world, there is a place for every young person to connect, learn, grow, and have fun.
Find the Right Camp for Your Child!
Fourteen Jewish summer camps to choose from across North America. Find one today!